Tuesday, April 27, 2010

Back in the dress makin' business!!

SOOOO I could not stop myself.  I made my poor kid another dress--YES another one.  Just what she needs RIGHT????  The problem...
I bought this tank for a couple dollars at a garage sale this weekend.  I intended to wear it under things this summer, but it looked...NOT GOOD!!!  So I tossed it into MY garage sale pile and planned to get my money back and sell it myself.  Then I had a brainstorm---Re-Purpose it!!!
First, I cut the top off RIGHT underneath the sleeves.  Then I cut the straps off to re-use.  They were sewn with elastic thread and had a little bit of stretch to them---very handy so that I did not have to add elastic to the straps myself.  Gotta love skipping steps:)
Then I stopped taking pictures and whipped up the dress (20 minutes or less).  I folded the top edge under about a half inch and ironed it.  Then I sewed around the top to form an elastic casing.  I used quarter inch elastic.  Emersyn was asleep, so I just measured another one of her summer dresses and cut the elastic a few inches shorter.  Then I used the straps from the shirt and sewed them about 2 and a half inches from the side seam on the front and back.    The shirt had a tie in the back, so I just left that alone and did not take the side seams in at all----I just left it extra full.
The combination of this cutie pie and the yummy smell of the lilacs she picked at Grandma June's yesterday made for a Happy Monday!!!
make it wear it

Monday, April 26, 2010

Sweatshirt Re-vamp!!

Am I the only one who wears sweatshirts aLmOsT every day???  I Love LOVE LOVE hoodies the most.  WELL sadly for me...it is no longer sweatshirt weather.  Which almost makes little tears come to my eyes because that means SWIMSUIT weather is not far behind-YIKES!!!  So I have come up with a solution....short sleeved hoodies.  I have one that I bought at Old Navy last year and I am a BIG fan--so I kinda based this sweatshirt on that one.  So I went on a search in my closet for long sleeved hoodies that I no longer wear, BUT that still fit well. This is what I found...
It has long sleeves--even though the retarded camara person (me) did not manage to get the actaul arms in the picture:)  I bought this sweatshirt forgetting that I am pastey white and need COLOR to make me look ALIVE:)  It just never did much for me.  SOOOO I decided to change it up a bit.
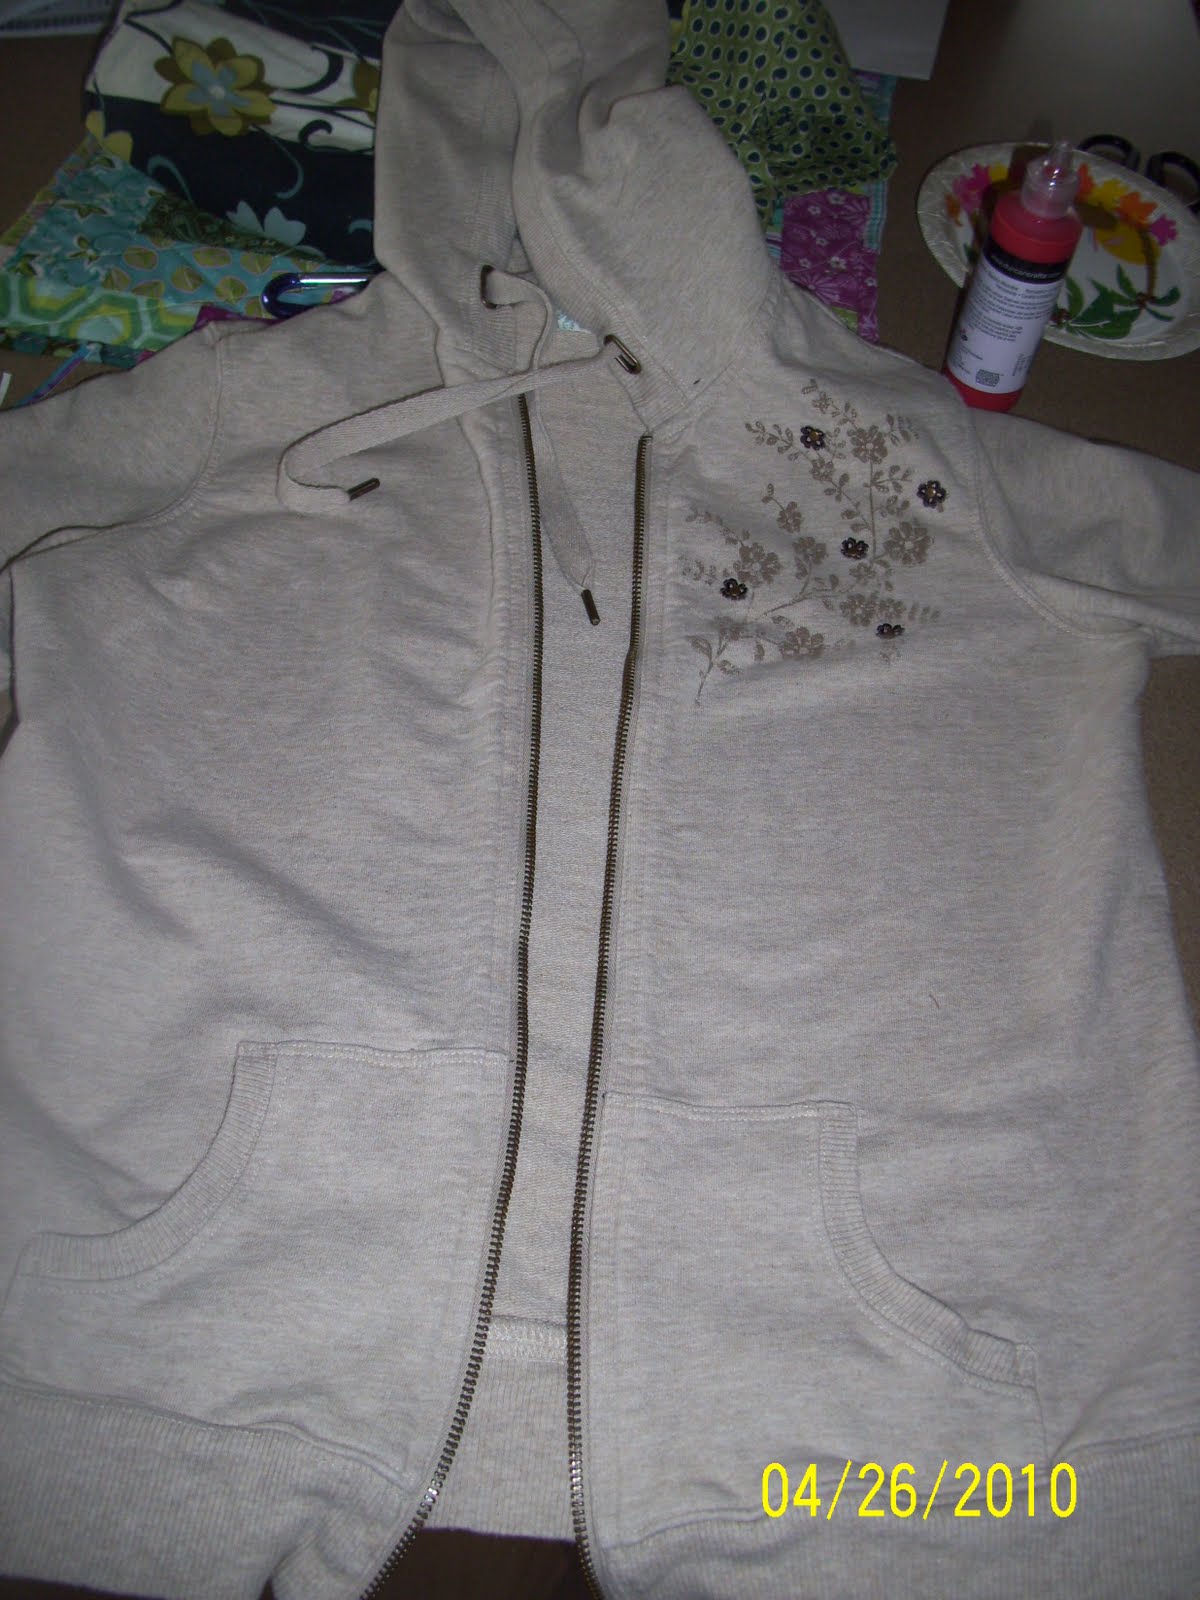
The shoulder had these pretty little brown flowers on it, so I decided to VAMP up the color. 
I stared with some red fabric paint.  I used a toothpick to color over some of the flowers.  I put a big paint glob on each petal and then spread it around with the toothpick.  I used a dab of black paint to make the center of the flower.
I added some blue flowers too and then traced the vines and leaves with a sharpie.  I then thought that I SHOULD have just used colored Sharpies for the whole thing--live and learn!!! I wanted to add some "weathering" to the sweatshirt as well, so I used my seam ripper and cut between the stitches on the pockets.
I went around the pockets and then along the whole bottom of the sweatshirt.
Next, I took some red embroidery thread and made some crooked stitches across the seams on the pockets.  Just a few uneven jagged zig-zags for fun.
HERE IS THE PART ABOUT SHORTENING SLEEVES:
I added some new pictures and directions for clarification--so now the pictures are of two DIFFERENT shirts.  Just ignore that:)
Then ON TO THE SLEEVE shortening.  I cut the first sleeve off and then held the cut sleeve up against the second one and cut off the same amount on sleeve number 2.

After cutting the sleeves off, I cut off the ribbing from the sleeves---this will be used as the bottom of the NEW short sleeve.
Since my arm is bigger than my wrist, I tugged on the ribbing a bit to stretch it out a little. 
Then I pinned the ribbing into the bottom of the sleeve.  I wanted a raw edge, so I just pinned it right inside and left the raw outer edge showing.  If you want a clean edge, you could fold the cut off sleeve under a quarter inch and then pin the ribbing into place. First I lined up the bottom seam of the ribbing to the bottom seam of the sleeve.  Then I stretched it across to the opposite side and pinned it  Then I pinned like crazy all the way around.  Stretching the ribbing to match up to the size of the sleeve.
Then I stretched the sleeve over the arm of my sewing machine and top stitched around the sleeve.
Ta-da!!!  Short sleeves and a cute little raw raggedy edge.
Now here are the directions for making clean seams--no raw edges. 
Turn your shirt inside out.  Then put your ribbing down inside the sleeves with the raw edges lined up.  Then line up the seam of the ribbing with the seam of the sweater (under the armpit).  This will keep the sleeves looking---un-homemade:)  Then stretch your ribbing and pin it to the other side--across from the seam.  Then stretch ribbing again and pin both of the ends (in between the two pins you already placed).  Now you should have 4 pins---one on each end.  This just makes sure that the ribbing is even all the way around.  Now pin like crazy--while stretching the ribbing.

You will have something like this.  It looks like you will have a mess, but when you stretch the arm over your sewing machine it pulls the ribbing tight and it all works out--promise:)

Next, stetch your sleeve over the arm of your sewing machine and sew around the edges.  I used a quarter or bigger seam just to be safe. 

VOILA---short sleeves.  SOOO cute right????  I love short sleeved sweatshirts more than----well lets just say they are almost as good as chocolate:)  but NOT quite♥
Now back to the rest of the sweatshirt:
Last, I took some sandpaper and brushed it over the paint so that it didn't look quite so......painted.  It took some of the excess off and made it look a little more weathered.
I really could not be happier with the final result.  I WILL be trying this one again SOON (I already have the poor unsuspecting sweatshirt in mind).

make it wear it
Photobucket
BCD

Saturday, April 24, 2010

homemade Elmo magnet MANIA!!!

I have been noticing homemade chalk-boards on blogs all over the place for a while now, but when I found PINK chalkboard paint at CraftWarehouse I KNEW I HAD to try it.  I also saw someone use a cookie sheet as a way for playing with magnets and KNEW Emersyn needed some Elmo magnets.  This is by far my favorite creation to date.  Mostly because from the SECOND I handed it off to Emersyn she was in love!!!
This is what I did...
First I started with this:
an old cookie sheet, E6000 glue, Mod Podge, chalkboard paint and brush, magnet strips, cardboard, and stickers. 
I first painted my cookie sheet with the chalkboard paint.  It took 3 or 4 coats to REALLY cover it.  I ALSO really really had to let it dry well between coats--I only made that mistake once:)
In between coats of pink paint I really got to work on the magnets.  First I traced the little round stickers onto my cardboard.  I used thin cardboard that came from inside of a fat quarter--It was about the thickness of cereal box cardboard.  Then I cut out the circles and glued the stickers on with a thin coat of Mod  Podge.  My stickers were used ( I peeled them off of Em's highchair--peanutbutter and all) so I glued them on really well and then painted a coat on the top AND on the bottom  because I wanted the magnets to be as thick and as strong as possible.
Once the first layer was basically dried, I REALLY caked on the Mod Podge because I wanted these to be Kid Proof!!!
I decided to throw in a few bigger stickers too---just to spice things up a bit.  I was too lazy to cut out the whole shape, so I just put the stickers ALL on a sheet of cardboard.
Then I cut around the outline---not very neatly:)

Then I ModPodged the heck out of them--just like the others.  Then I cut the magnet strip into pieces and glued them onto the back with the E-6000.  One thing I would change---I would put TONS of glue on the whole back of the sticker and then put the magnet in the middle.  I just put a dab of glue on the back and Em ripped ALL of the magnets off while I was in the shower--BUMMER!!! 
Then when the paint is dry--over night--you have to color all over it with chalk to activate the chalk paint.  Then erase it and pass it over quick to your favorite artist.  Right now ours is an all day toy, but the idea was for a car toy.  I think this will work great in the wagon on long walks or in the car or at church (if it was smaller).

THEY WILL LOVE IT!!!!!  Not as much as YOU love THEM----but close:) ♥

Thursday, April 22, 2010

Happy Earth Day!!

What can you get for a dollar fifty????  I milk shake.  A bottle of water.  A couple of candy bars.  OR a new church outfit.  My yard-sale-ing finally paid off for me.  I usually don't look for clothes for me, but since the whole RE-purposing bug hit me, I have been looking with a totally different focus. 
At my first yard sale of the year I found this shirt.  I thought it was cute, but it was an X-large.  I almost left it there, but I loved the beads around the neck (it is like a shirt and a necklace in one).  Plus the price was right--fifty cents.
I had TWO problems with my XL shirt.  It was too wide and TOOO long.  SO first I sewed down each side seam--taking it in about 3 inches on each side.  Then I just cut off the extra.  This worked great because it also made the arm holes smaller.  Then once I had it skinny enough, I cut the bottem cuff off and saved it.  Then I cut off about 4 inches and sewed the bottem cuff back on---that way it looked just like before BUT smaller. 

I thought I would share the process because I am sure I am not the only one who likes to shop sales and outlets, but it always seems like all of the good buys are on BIG clothes and Extra Smalls.  I cannot help ya with the extra smalls--I think that ship has sailed for most of us (me for sure), but I CAN help with TOO BIG.  Imagine all of those good buys that just need about 20 minutes and a few straight seams to fix them up........I am ready to go out and find some more!!!! 

Here is the final result--I also got this skirt at a yard sale for a dollar.  SOOO for 1.50 you can get a pretty fun little church outfit (do adults wear outfits????)  Moving on....I also made another scarf----I know, but this is the last one.  I used THIS tutorial and one of Todd's old T-shirts to make one scarf for me and one for my sister (I am a good sharer).
I actually think this might be one of my favorites.  It took NO time, NO talent, NO money and I think I will be able to wear it through the spring and then again in the fall----I guess I will give the scarves a break for the summer:)
I have recently fallen in love with spray paint too by the way.  I don't think it is a temporary infatuation either---I think it is the REAL deal.  I have had this great picture of Christ....well all of my life actually.  It hung in our house growing up and then I took it away with me to college and back again.  I have wanted to put it up in Em's room (sadly) for....well 2 years now, but didn't like the GOLD frame.  It was bright gold and I did not think it went well with such a beautiful picture.  SOOO I spray painted it a new color and LOVE it.  The color just blends in and you don't even notice the frame anymore---just the way I wanted it.
The BEST part....now it has a new home in Emersyn's room and we talk about Jesus every day.  She loves "baby Jesus" and tells me now that is HER baby Jesus picture and that Baby Jesus hugs the kids.  She can sometimes teach me SOOOO much with just a few words.
Last but now least....I actually started AND finished a quilt.  FINALLY!! I have been on a quilting vacation---I think I had a bit of deadline burnout.  But once I got back to it...I could not stop.  I made this little cowboy quilt for a charity auction.  On Friday it will be auctioned off and the money will go to a little girl who lives in Eltopia and is very sick.  I am not sure about the details, but this quilt is the least I can do to help.
I bought this quilt kit at the quilt show and LOVE the fabrics that the store owner picked out.  BLUE FLANNEL for the backing---so yummy and soft!!!!
And appliqued, bandana, sherriff stars--who can resist that????? 
I hope this little cowboy cutie goes to a new home and raises lots of money to help pay off some medical bills.  I am so blessed to have a healthy little girl (who loves to help me quilt).  Sometimes I take her for granted and I am very thankful for reminders in my life to help me remember what a blessing a running screaming 2 year old REALLY is:)