Thursday, February 17, 2011

Another finished quilt....pretty much in love with this one:)

I SOMEHOW managed to finish another quilt....I was on a bit of a time crunch.  This one is for Pink A Night To Remember, which is an auction for Breast Cancer that my Aunt helps put on.  I donated 2 quilts last year, but only managed one baby quilt this year.  Actually I tried to work on a different bigger quilt, but I kinda ruined it....so this is what they got this year.  ANYWAY...
The fabric is one of my favorites, Riley Blake, but I am not sure what it is called.....Delicious is what I call it:)  Is it not super cute boy fabric????  Love it!!!

I grid quilted it....I promise to try free motion again someday.  I did do something a little different this time though.  NO TAPE...I used the little extension do-hickey that goes on my walking foot.  Worked like a charm. 


The backing is my favorite...I pretty much love the stars!!!

It matches baby E's room pretty well....too bad it can't stay there:)  I promise the A is coming soon....it is on order. 
The pattern is from THIS book.  Thanks Marcie!!!  This is the same pattern I used for Baby E's quilt...different fabric though.   If I EVER actually finish it I will share a picture.
This might be my last accomplishment for a while, so I am sitting here enjoying the finish....kinda like I just won a state championship....small things:)

Monday, February 7, 2011

First quilt of 2011

SOOOO.... my computer has been out of commission for a few weeks...YES WEEKS!!! and I have not been able to post, or look at blogs, or even access many of my patterns.  YUCK!!!  But a while back I finished 2011's very first finished quilt.

I made this quilt out of some of the scraps from my vintage linens from THE SHOP.  I really liked some of the colors and patterns in the linens that I had, so I decided to try it out.  I kinda LOVE the way these linens are in a quilt.  Because they are used and washed multiple times, the quilt is THE SOFTEST thing I have ever made.  It is so snuggly and soft. Seriously!!!  
ANYWAY...I used THIS pattern from the Moda Bake Shop.  
I quilted it using masking tape and grid quilting (nothing new there).  Seriously in 2011 I am going to perfect my free motion quilting.  SERIOUSLY!!!! 

The backing fabric is my favorite.  It is SOOO soft.  There is also a strip of "stacked coins" pieced into the back.  I don't usually piece the back, but I liked that little addition. 

Since it is not really a "manly boy" quilt, I didn't think it was quite right for Little Baby E (who will arrive in less than 2 weeks).  SOOO I put it in the Etsy shop.  We shall see if anyone loves it as much as I do:)  I have a few more finished projects to share and a couple little cuties in the works, but I am still getting back into this century and need to go get caught up on some more important computer stuff.....like blog stalking and online shopping:)
 

Saturday, January 22, 2011

maternity sweat pants--MUST HAVE!!!

Long time no blog huh????  Well as the count down to baby gets closer, my desire to do....ANYTHING gets smaller and smaller.  I have a feeling that in a few weeks it will disappear all together.  BUT I must say that this latest endeavor has been my BEST IDEA EVER!!!  For me that is....it may not have ANY use for you, but I thought I would share anyway.  I may have mentioned this before, but I get ENORMOUS pregnant.  Not the cute litte basketball belly disappears before you leave the hospital pregnant.  OH NO....I am talking almost double in size, unrecognizable as the same person BIG.  Like cannot go into public without people asking questions big.  In the last 2 days I have had a little boy at the mall point at my belly and ask(ever so politely) "WHAT do you have IN there???"  AND a little old lady in a scooter at the grocery store asked if I needed her to help me grab something off the shelf.  YES pregnancy for me is a VERY humbling experience.  That being said....I will get back to the topic at hand.  SWEAT PANTS. As a stay at home mommy I try to avoid wearing sweats EVERY day, but as a huge pregnant about to give birth mommy I am pretty much in them all the time.  BUT they are not as comfy for me for 2 reasons.  1.  I have a c-section scar that gets rubbed by them because they sit right under my belly....not fun.  AND 2.  I sometimes end up looking like this nice gentlemen....
Not Pretty!!!  ALSO...I remember after my last c-section I had a hard time finding things to wear that did not hurt my incision.....SOOOO really long story a little shorter.....I decided to hack up my sweats and make them into TRUE maternity sweats (with a full belly panel).
If you have managed to read through that monster story and are interested in your own maternity sweats.....here is what I did.
You will need:
sweats that fit (even if the waist band is snug)
an old t-shirt that fit before you were pregnant (needs to have some spandex in it)
sewing machine and maybe a serger
about 15 minutes

First, I cut the waist band off of my sweats...try to keep track of the front because it is lower than the back of the pants....this will help the panel hit in the right spot. BTW.....sorry for the blurry pictures.  I allowed my 2 year old photography nut help take the pics...she is still learning:)

 Next, I cut the bottom off of an old t-shirt.  I cut right under the arm pits because I wanted a long panel and my shirt was pretty short....you might want to measure how long you want your panel and cut accordingly. You will be using the BOTTOM hem of the t-shirt as the TOP hem of the panel, so cut with that in mind.  The shirt needs to have some spandex in it so that it streches, but does not stretch out.  I used one of my old favoriteTarget t-shirts that has the double layer in the front (anybody else have these in every color and go back every spring for more???)  I also know that GAP t-shirts are nice material to work with....but not cheap to cut up sometimes:)
 Next, turn your pants inside out and put your t-shirt tube down into the pants (right sides touching).  SOOO your bottom hem of your shirt should be DOWN in your pants and your raw edge should be lined up with the raw edge of your pants.  Then line up your side seams on both sides and pin.  This will make your panel match up to your pants and not look so HOMEmade. 
 Then, find as close to the center of your tube as possible and pin that to the center of your pants.  Next, try to match up the edges and pin.  You wanna spread the shirt evenly around the pants (although they might not match up perfect) so that you don't get huge pleats.  You may however have to stretch it here and there and have some small pleats....no biggie. Then I just sewed around the top edge with a 1/2 inch seam.  And finally serged around that seam with my serger to make it even more sturdy.  If not using a serger I would zig zag around the edge or double stitch your seam.  Maybe it is just my enormo tummy, but I need my panel to be EXTRA sturdy.  My self esteem could not handle a belly panel ripping off right now....just sayin!!
 VOILA...just turn your pants right side out and you have the most comfiest pair of sweats you can imagine.  I now have 2 pairs and seriously as soon as my other sweats get out of the wash I will be doing this to everything I can get my little hands on. 

Good luck...and btw...I won't judge you if you make these for your not pregnant self either..shhhh it will be our little secret;)

Thursday, January 6, 2011

Toddler Bed Sheet Fix


SOO this  post might not apply to Anybody but me, but if you have EVER been woken up at 2 in the morning with the words "MOMMY COME COVER ME UP!!!!" screamed at you, this might be important information for you. 
Recently Emersyn has been upgraded to a toddler bed---because baby boy is gonna need the crib soon (CRAZY).  Now I WISH that she was a great sleeper, but she has always been a BIT of an insomniac.  I can probably count the amount of times she has slept through the night  in the past 2 and a half years on one hand---SERIOUSLY!!!  This is just my latest attempt to keep her in her OWN bed and quiet through the night.....Here goes.
Since TOP sheets are new to her, she tends to continue ending up with a bed like THIS...
THEN she wants to be tucked back in.  SOOOO I decided to add a bit of elastic to the bottom of the to sheet to keep it in place.  WORKED LIKE A CHAMP!!!
What you will need:
40 inches of 1/4 inch elastic
a toddler top sheet
about 25 minutes
BTW: I used THIS tutorial for fitted sheets from MADE to get myself started.  I basically followed her lead, but only on half a sheet.  ANYWAY...here are my steps.

First:  I  cut an 8 inch by 8 inch section out of the bottom two corners of the sheet.  WARNING!!!  Make sure that when you do this your TODDLER is NOWHERE in sight.  Otherwise you may have a full blown freak out because you are cutting Tinkerbell.  Just saying...

Next:  You will be making the pockets on both sides of the bottom of the sheet.  SOOO take the edges, right side together and sew your pocket.  It should look like this.  Cute huh????
I serged off the seams...JUST CAUSE I CAN---YAY!!!!  (did I mention I got my serger??)
THEN:  You wanna measure half way up the side of your sheet.  I did this very scientifically by folding the sheet in half and placing a pin at the half way point.   Then fold over the edge (starting at the pin) to make your elastic casing.  Fold all the way around the end and back to the other pin.  I just tapered off after the pin for looks sake. Iron really well.  I made my casing about 1/2 inch so that I could take a bigger seam (just easier than tiny) and fit my 1/4 inch elastic in. 

After that: Sew all the way around (from pin to pin). This is the easiest hemming ever because your sheet is already hemmed and has no raw edges---yay!!!

Finally: Use a safety pin to insert your elastic into the casing.  I left mine peaking out on either side (and hold on tight) so that I could sew it down.
FINALLY:  Sew two parallel sets of stitches to keep the elastic in place.  I went back and forth five or six times just to be safe.

TA DA!!!  You have a half fitted flat sheet....
How cool is that???  Now I only hope it keeps her little body LOCKED inside ALL NIGHT LONG:)

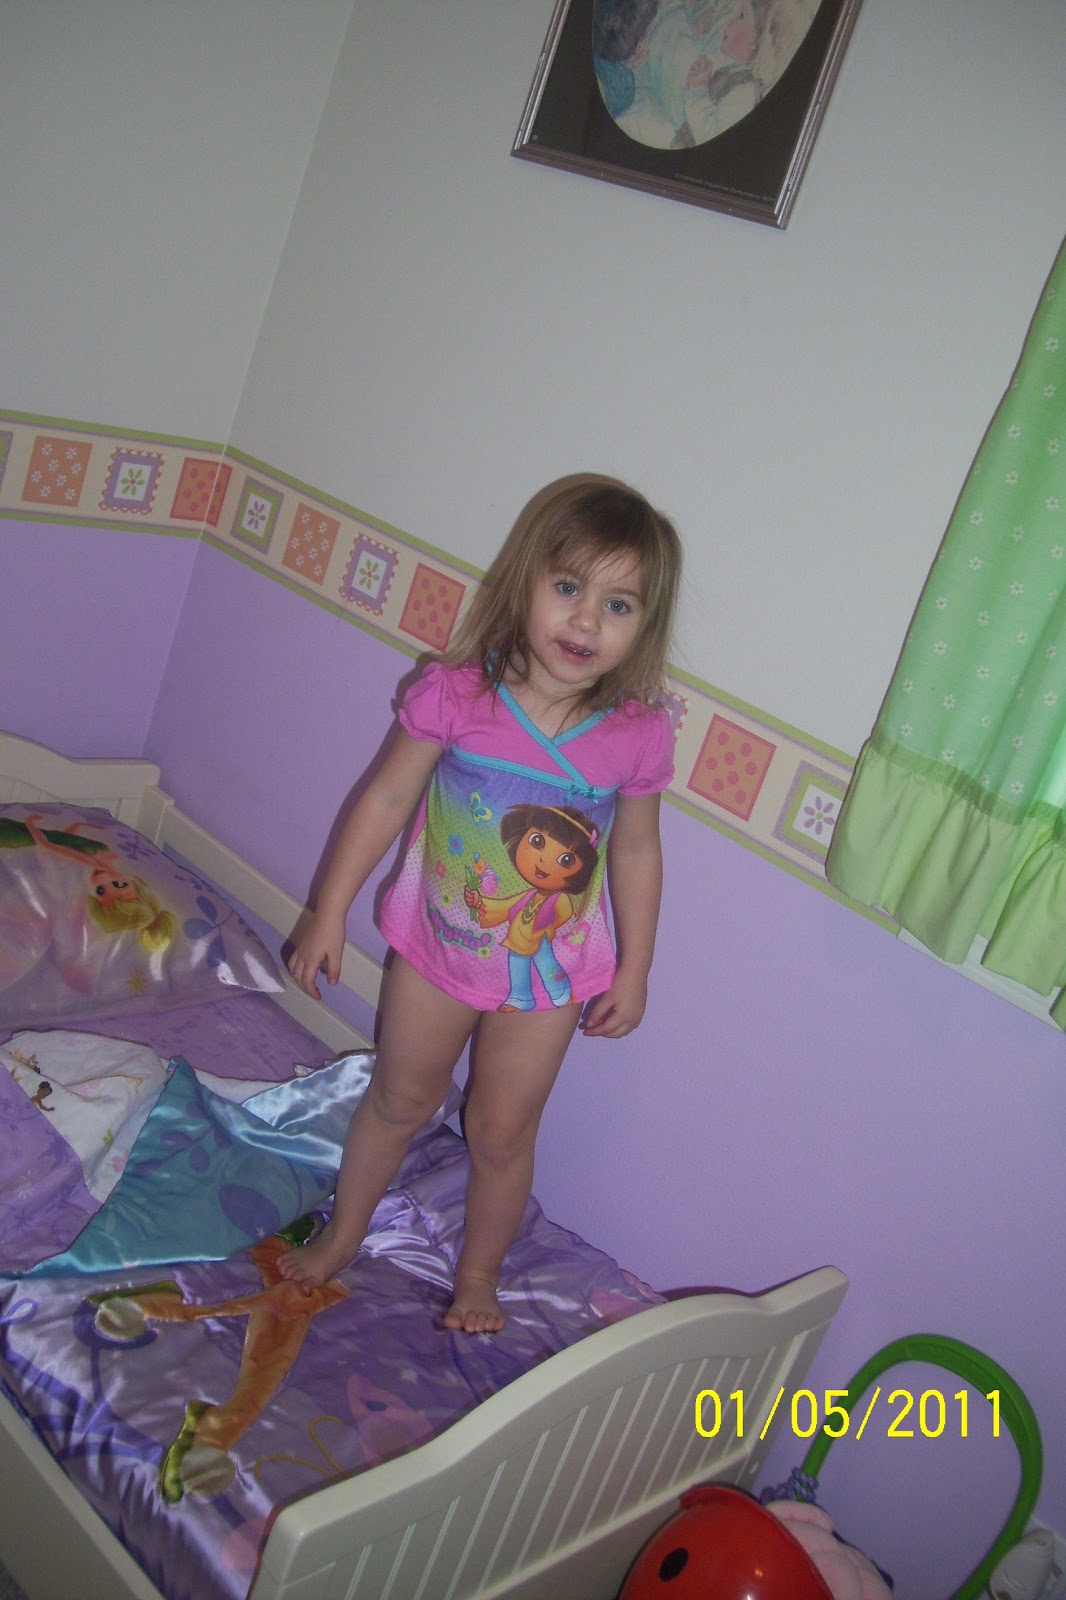
I tried to get an after picture, but Super Toddler could NOT wait to try out her new big girl bed.


Clearly I left her dirty and bedragled while I worked on this sheet.  I have never claimed to me Super Woman right???

Check it out...the sheet didn't move!!! SUCCESS!!!  Now I am tempted to elasticize the comforter too...just sayin!!!
I REALLY wanna sleep through the night for one more month until ALL sleep stops in our house....wish me luck:)

Tuesday, January 4, 2011

Year in Review

I was sitting here contemplating this past year and WHAT THE HECK DID I ACCOMPLISH???  I was feeling like all I did this year was puke, rest, and nap.  SOOO I took a look back at this year and made a little ListyPoo of this year's most popular posts.  Mostly just for me....so that I can see that HEY...I DID DO SOMETHING THIS YEAR!!!

Number 1--From Onesie to Diaper Cover

Number 2 and 3--Bandana shirts AND Bandana skirts

Can I just say....HOLY COW I miss the days before the baby weight came back on....Yikes 2011 is gonna be a rough workout year!!!


Huh???? I remember I used to think THAT was a big baby bump....little did I know....
 Number 5---Baby Dress Take 2


Number 8---Button Bracelets
Anyone else REALLY missing the sunshine???  Oh will it ever be warm again???


PHEWWW!!!  Here is to a little bit of creativity for this new year....Happy New Year!!!